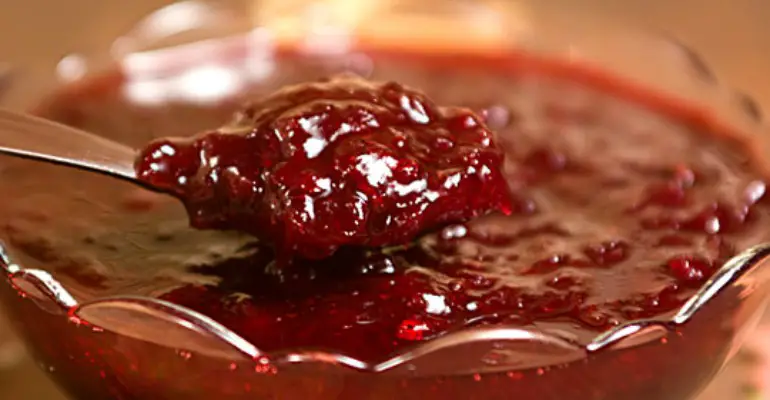
Are you stuck with an abundance of cranberries leftover from Thanksgiving? If you’re anything like me you probably overestimated and bought too many bags. So, you can make this yummy jam for Christmas! Hooray! I never thought of making jam with cranberries before and I am so glad that I came across this recipe. This preserve is very good. Even my husband and kiddos really liked it.
Make a few pints of this and can them in Mason jars or freeze them.
Ingredients
2 – 12-ounce bags of fresh or unthawed frozen cranberries, rinsed and picked over
3 cups Domino sugar
1 cup of Ocean Spray cranberry juice (I use unsweetened juice but you can use the basic “Ocean Spray ” or use apple juice or orange juice.
1 cup water
Optional: 1 TB McCormick cinnamon or toss in 1/2 cup of red hot candies! (Use 1/4 cup. for a less hot-cinnamon flavor.) And just so you don’t write to me and SCREAM at me in an email, know that I have no idea exactly how much is in on of the little boxes that you find in drug stores or candy shops.
1 case (12) of 4-ounce jelly jars (available in grocery stores–look in the pickle section), 6 8 ounce jelly jars, or 3 12 ounce jars
**About the Red Hots.. If you like jalapeno jelly or Hot apple jelly, you might enjoy the flavor of the Red Hots. If you hate “hot” jams, do not use the candies.
Instructions
Combine all of the ingredients in a large, heavy saucepan.
Bring to a boil, stirring occasionally.
Reduce heat and simmer, stirring occasionally, until thick, about 20 minutes (jam will continue to thicken as it cools).
Pulse jam in food processor or blender.
Jam should be pureed, but still a bit rough.
If you don’t have a blender, just mash the berries up as best as you can using a large fork or even a potato masher. (I like to keep some of the berries whole.)
**New jarring method- Using your clean jars, fill each jar with the jam 1/4 inch from the top of the jar. Once filled, seal and turn each jar over with the sealed side down on your countertop. Let the jars sit there until they have cooled completely and then place in the fridge. (We really don’t have to boil jars anymore.) You will hear the lids pop once the jars seal completely.
Buttttttt, you you insist on boiling your jars and using the older method of sterilization, the directions for that are below.
The Old Way..
In a pot large enough to hold a rack and jelly jars covered with an inch of water, boil the jars, the lids, and the rings to sterilize. Boil for about 5 minutes and leave in hot water until you’re ready to fill them. If the pot can only hold a few jars, no problem; just sterilize and process the jars in batches.
Remove a jar from the hot water with tongs. Fill with jam, wipe the edge if you’ve dribbled any, place the lid on top, and hand-tighten the ring. Just tighten it until snug–it doesn’t need to be closed with the death grip. As you fill and close each jar, place it back in the pot of water. (see NOTES, below)
When you’ve replaced all the jars, bring the water to a boil again (replacing evaporated water if necessary to cover jars with 1 inch of water. Boil rapidly for 5 minutes. Remove processed jars to a rack and cool 12- 24 hours. As jars cool, they’ll create a vacuum (you’ll notice the lids sucking down onto the jars as they cool). If the lids still pop when you press on them after 24 hours, they haven’t sealed properly. The jam is still fine to eat, but you’ll need to refrigerate it. Sealed jam can be kept on the shelf until opened. Refrigerate after opening.
USE RED NEXT PAGE LINK BELOW.
Quick Tip: You may also add strawberries to this recipe if you prefer.
Thank you Spicie Foodie for this great photo.

