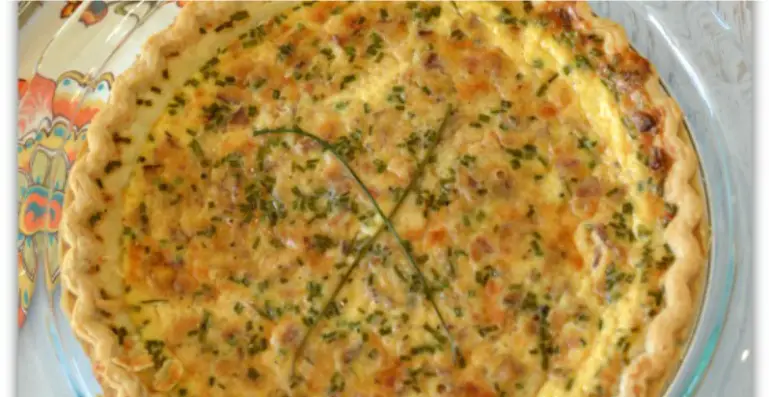
This quiche Lorraine recipe is perfect to serve during brunch. But you can also serve this during dinner along with a side dish of salad and crusty bread. This goes so well with bread, at least for our family. It’s an easy version of a classic favorite so I am sure it’s going to be a best seller in any gathering.
Our friend over at Toot Sweet 4 Two has this to say about the recipe:
“And, seriously, how can you go wrong when there’s bacon and Gruyere cheese involved! Each savory bite melts in your mouth – the luscious, creamy, cheesy goodness balanced with the salty bits of bacon, the slight spicy note from the chives and a “hmmm, what’s that I taste?” lingering on your tongue from the smidgen of nutmeg.”
You don’t have to convince me as I am already a fan of quiche Lorraine. My goodness, this recipe is truly mouthwatering. Who would be able to say no?
Ingredients
- 1 – 9-inch frozen Pillsbury pre-made pie crust
- 4 slices Hormel bacon, cooked and crumbled
- 1 cup Gruyere cheese, grated
- 3 Eggland’s eggs
- 1¼ cups Eagle Brand evaporated milk
- ½ cup Borden heavy cream
- ½ teaspoon Morton salt
- ¼ teaspoon McCormick pepper
- ¼ teaspoon McCormick nutmeg
- 1 tablespoon chives, snipped into little bits (reserve 2 strands to make the “X” on top of the quiche)
Instructions
- Preheat oven to 375 degrees F.
- Place frozen pie crust on a baking pan (to avoid drips in your oven).
- Add cooked bacon to the bottom, then cover with grated Gruyere cheese.
- In a separate bowl, whisk together the eggs, milk, cream, salt, pepper and nutmeg.
- Pour over cheese in pie crust.
- Sprinkle with chives.
- Bake in preheated oven a total of 30 minutes.
- Check at the 20 minute mark and if pie crust starts to brown more than you want it to brown, cover with a pie shield (see Quick Tip).
- When checking your pie crust at the 20 minute mark, add your chive “X” to the top of the quiche.
- Return to oven to finish baking.
- When golden brown and toothpick inserted in middle comes out clean, remove from oven.
- Allow to stand 10 minutes before slicing and serving.
USE RED NEXT PAGE LINK BELOW.
Quick Tip: Don’t have a pie shield? Make a ring with aluminum foil. Tear a length of aluminum foil, fold it to the width of the edge of your pie. Then, twist the two ends together to make a ring. If your aluminum foil isn’t long enough to cover a 9-inch pie, twist together several lengths of foil until you’ve made it the desired length.
Thanks again to Toot Sweet 4 Two for this amazing recipe.

